So this tutorial is a small attempt to bring the people, places and things made in Anyland to the web.
Here's what we can bring in:


Before we get started, we need to do a few things:
- Find Hosting, Neocities.org and Glitch.com provide free front-end services which will suit our needs (you can also do this on your own with a text editor and an html file remotely - try downloading atom or sublime text. If you're really hardcore, you can use Vim in a terminal..)
- Export a thing or world from Anyland
After that's done we've got to get into some code! Don't worry, you don't have to be a programmer to follow along. It's mostly just a bunch of copying and pasting ;)
How to www your world:
- Go to A-Frame.io and click on DOCS
- Copy and Paste the 'Hello World' script from the introduction into your text editor, open it up in the browser
- In the <a-scene> remove all of the primitive geometry, we're gonna replace it with OUR primitive geometry!
- Without going too much into how A-Frame works, we're going to turn our Anyland Export into a WebVR Asset by pasting the following:
<a-assets> <a-asset-item id="ANYLAND-OBJ" src="ANYLAND.obj"></a-asset-item> <a-asset-item id="ANYLAND-MTL" src="ANYLAND.mtl"></a-asset-item> </a-assets>A-Frame uses the follwing formats: OBJ/MTL, .dae (Collada), and .glTF, try converting your model to one of these if the .OBJ doesn't work. - Replace WORLD and WORLD.obj with whatever ID you want to give it and the reference to your export.
- Next we need to add something called an OBJ Primitive, it'll go as follows:
<a-obj-model src="#ANYLAND-OBJ" mtl="#ANYLAND-MTL"></a-obj-model>
Again, just replace ANYLAND-OBJ and ANYLAND-MTL with the ID you chose.
<html>
  <head>
    <script src="https://aframe.io/releases/0.7.0/aframe.min.js"></script>
  </head>
  <body>
    <a-scene>
      <a-box position="-1 0.5 -3" rotation="0 45 0" color="#4CC3D9"></a-box>
      <a-sphere position="0 1.25 -5" radius="1.25" color="#EF2D5E"></a-sphere>
      <a-cylinder position="1 0.75 -3" radius="0.5" height="1.5" color="#FFC65D"></a-cylinder>
      <a-plane position="0 0 -4" rotation="-90 0 0" width="4" height="4" color="#7BC8A4"></a-plane>
      <a-sky color="#ECECEC"></a-sky>
    </a-scene>
  </body>
</html>
<html>
  <head>
    <script src="https://aframe.io/releases/0.7.0/aframe.min.js"></script>
  </head>
  <body>
    <a-scene>

      <!--pasty here-->

    </a-scene>
  </body>
</html>
If you don't see your world then it may need to be scaled down or positioned so that it's in view.
Try clicking 'control + shift + i'
This opens up a 3D DOM which you can use to adjust your scene, you can find the model in the object hierarchy and adjust the scale and positioning (heads up, there's no 'ctrl+z', you just have to refresh the page). Once this is done then click the small clipboard at the top to copy the updated code into your file, and paste it over the old line. Hit refresh on your page and see the changes!
If you want to change the position of where your visitors start, then simply add a camera and adjust it in a similar fashion. Here's the primitive:
<a-camera position="0 0 0" rotation="0 0 0"></a-camera>
It's just as easy to add lights:
<a-light position="0 0 0" color="red"></a-light>
and a sky:
<a-sky color="#000"></a-sky>
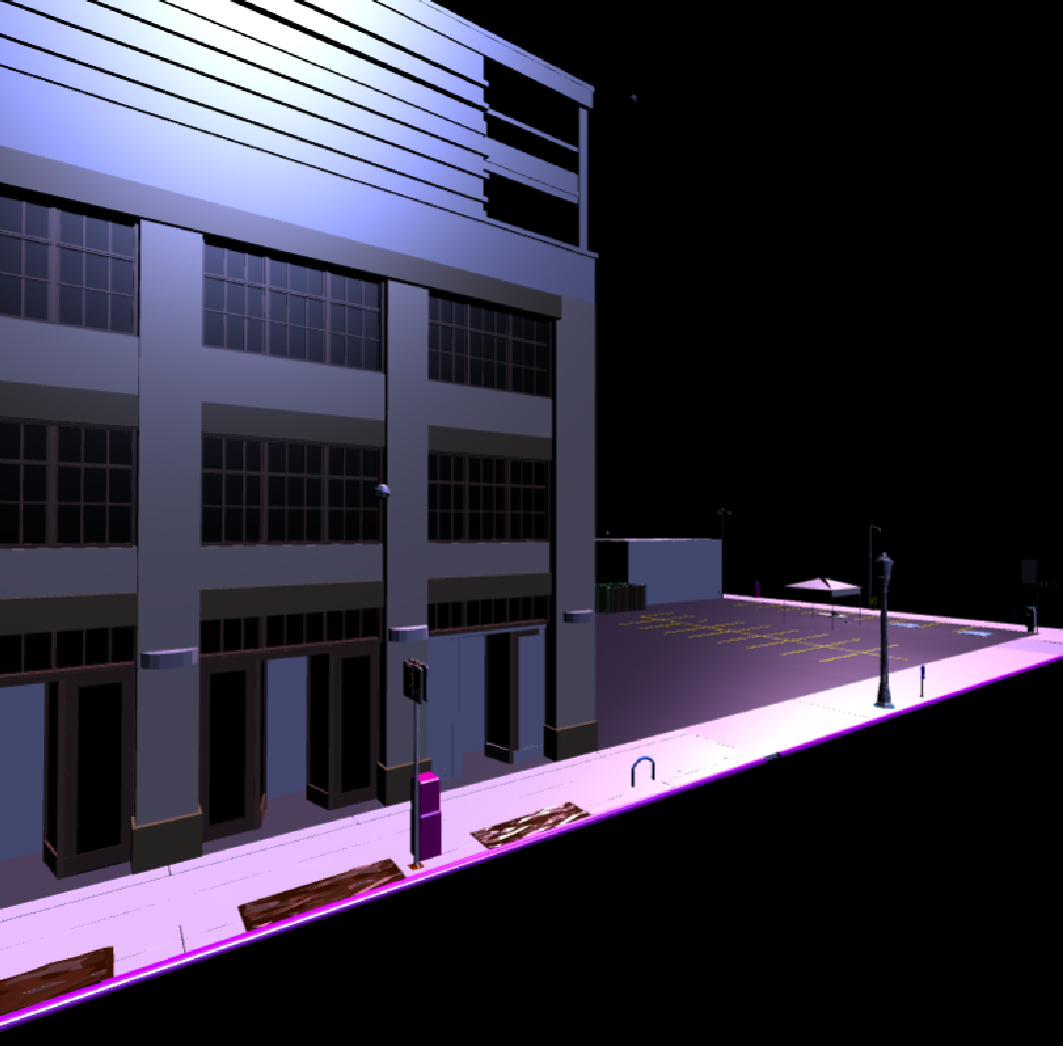
This is the example from the image above, I converted the .obj/.mtl to .dae for my own ease of use since it bundles the material together with the mesh (supposedly .glTF is even better)
<!DOCTYPE html>
<html>
  <head>
    <meta charset="UTF-8">
    <title>Anyland webVR</title>
    <script src="https://aframe.io/releases/0.7.0/aframe.min.js"></script>
  </head>
  <body>
    <a-scene>
      <a-assets>
        <a-asset-item id="racc" src="/webVR/ps/PS.dae"></a-asset-item>
      </a-assets>

      <a-entity id="_WORLD" position="0 -0.5 -3">
        <a-collada-model src="#racc" position="1.6 0 -3" rotation="0 -166.38694370599106 0" scale="2 2 2" collada-model="/webVR/ps/PS.dae"></a-collada-model>
        <a-entity position="0.874 0 -4.656" scale="18.965 1.62 11.285" geometry="" material="flatShading:true;shader:flat;color:#000000" rotation="0 8.307888029396937 0"></a-entity>
      </a-entity>

      <a-light position="1.326 1.564 -1.113" light="color:#fdb5ff;castShadow:true"></a-light>
      <a-light position="1.326 3.012 2.902" light="intensity:0.6;decay:0.2;groundColor:#ff00b8;color:#9aa5fe;castShadow:true"></a-light>

      <a-camera position="0 0 0"></a-camera>

      <a-sky color="#000"></a-sky>

    </a-scene>

  </body>
</html>
There's a whole realm of possibilities with what you can do with your world and objects once exported from Anyland, WebVR and AR are just a few of them, I've yet to have a chance to 3D Print my avatar!
I hope this tutorial helps you guys bring a bit of Anyland back into the 'real' world so you can show your friends as Anyland grows. It's by no means perfect, and we don't have full exports yet, so this works best with things that are light on texures, letters and particles. Just be patient, Phillip and Scott are awesome developers, it's just the two of them and they're doing a great job! There's still a lot you can do with the current state of exports like real world Avatars and objects (hell, if you wanna talk THREE.js to see if we can get some more of Anyland up on the web, hit me up!)
If I missed anything or need to be clearer on any of the steps please reach out to me in realm (I'm often CTRLH) or online at @_liooil